 Pin It
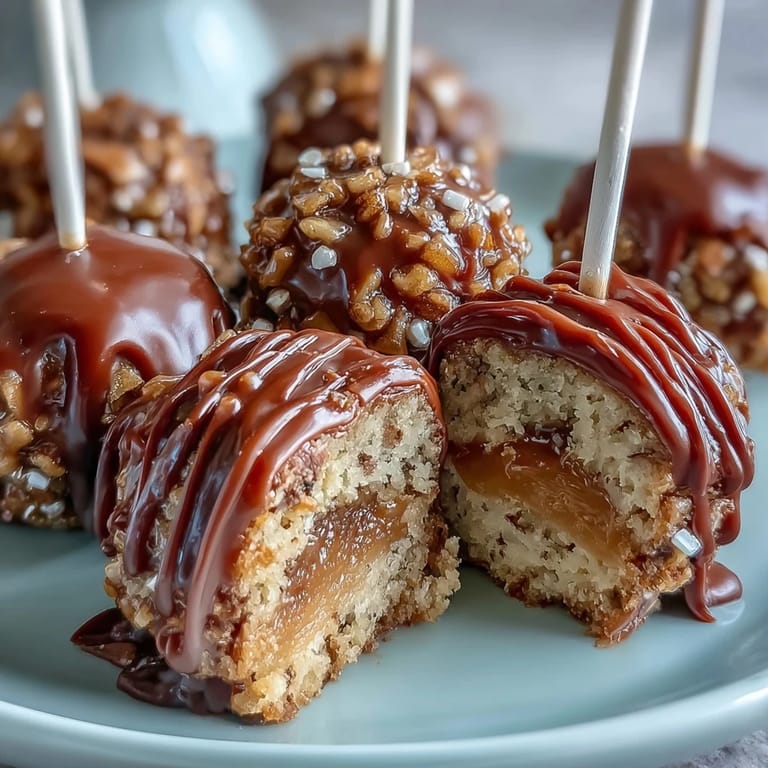
 Graduation day is a milestone worth celebrating in style, and these festive cake pops bring the perfect combination of school spirit and sweet indulgence. Decorated in vibrant school colors and topped with shimmering gold sprinkles, each bite-sized treat captures the excitement and achievement of this special occasion. Whether you're hosting a graduation party, surprising a graduate, or contributing to a celebration buffet, these eye-catching cake pops deliver both visual impact and delicious flavor that guests of all ages will love.
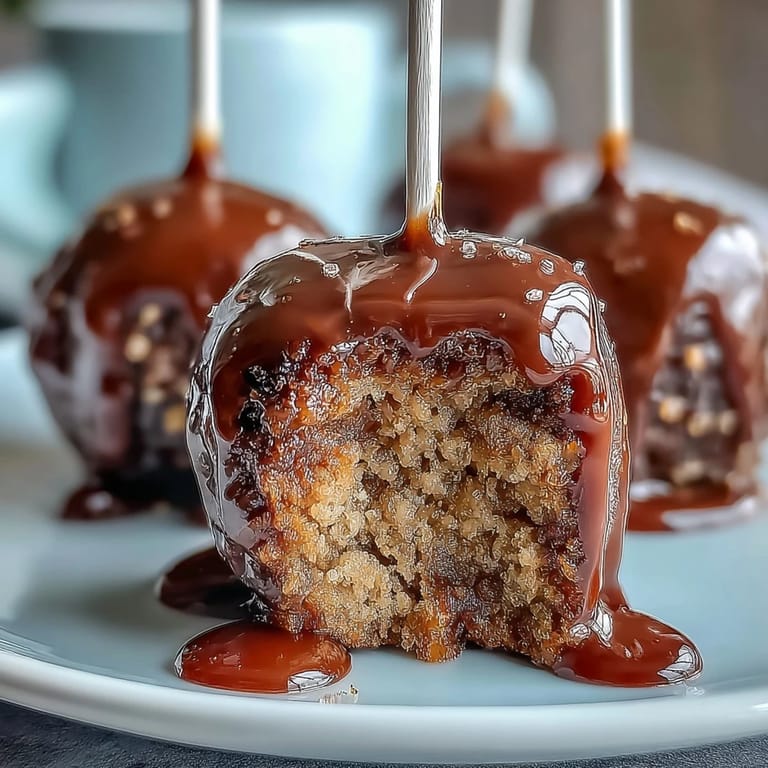
Pin It The beauty of cake pops lies in their versatility and crowd-pleasing appeal. By transforming a simple cake into perfectly portioned treats, you create an elegant dessert that's easier to serve than traditional cake while offering endless personalization options. The candy melt coating provides a smooth, professional finish, and the gold sprinkles add that celebratory sparkle that makes these pops truly graduation-worthy.
Ingredients
Tired of Takeout? 🥡
Get 10 meals you can make faster than delivery arrives. Seriously.
One email. No spam. Unsubscribe anytime.
- For the Cake: 1 box (about 400 g) vanilla or chocolate cake mix (plus ingredients listed on the box: usually eggs, oil, water)
- For the Frosting: 1/2 cup (115 g) unsalted butter, softened
- 1 1/2 cups (190 g) powdered sugar
- 1 tablespoon milk
- 1 teaspoon vanilla extract
- Pinch of salt
- For the Coating & Decoration: 450 g (16 oz) candy melts in two school colors
- 2 tablespoons vegetable shortening or coconut oil (optional, for smoother dipping)
- Gold sprinkles or edible gold glitter
- 24 lollipop sticks
- Styrofoam block (for drying pops)
Instructions
- Bake the Cake
- Prepare the cake mix according to package instructions. Let it cool completely.
- Make the Frosting
- Beat butter until creamy. Gradually add powdered sugar, then milk, vanilla, and salt. Beat until smooth and fluffy.
- Form the Cake Balls
- Crumble the cooled cake into a large bowl. Mix in 1/2 to 3/4 cup of frosting a little at a time until the mixture holds together but isn't too wet.
- Shape
- Roll the mixture into 24 evenly sized balls (about 1 tablespoon each). Place on a baking sheet lined with parchment paper. Chill in the refrigerator for at least 1 hour or freeze for 30 minutes.
- Insert Sticks
- Melt a small amount of candy melts. Dip the end of each lollipop stick into the melted candy, then insert halfway into each cake ball. This helps secure the sticks.
- Coat with Candy Melts
- Melt candy melts in separate bowls according to package instructions, stirring in shortening for a smoother finish if desired. Dip each cake pop into your chosen school color, gently tapping off excess.
- Decorate
- While the coating is still wet, sprinkle with gold sprinkles or edible gold glitter. Place upright in the Styrofoam block to set.
- Serve
- Allow coating to harden completely before serving or packaging.
Zusatztipps für die Zubereitung
The key to perfectly smooth cake pops is achieving the right cake-to-frosting ratio. Start with less frosting and add more gradually—if the mixture becomes too wet, the pops will be difficult to shape and may fall off the sticks. The chilling step is crucial for firm cake balls that hold their shape during dipping. When melting candy melts, use short bursts in the microwave and stir frequently to prevent overheating, which can cause the coating to become thick and clumpy. If your candy melts are too thick, add vegetable shortening or coconut oil one teaspoon at a time until you reach a smooth, dippable consistency. Work quickly once the coating is applied, as you'll need to add sprinkles before it sets.
Varianten und Anpassungen
Vary the cake flavor to suit your preference—red velvet, funfetti, or lemon cake all work beautifully. If using dark-colored cake, use a matching or contrasting candy melt for a bold effect. Beyond gold sprinkles, consider decorating with edible pearls, graduation cap toppers made from chocolate squares and mini Reese's pieces, or drizzling with contrasting colored candy melts for a striped effect. For extra flair, tie small ribbons in school colors around each stick or wrap individual pops in clear cellophane bags tied with coordinating ribbon for party favors. You can also create a two-tone effect by dipping half the pop in one color and the other half in another school color.
Serviervorschläge
Display cake pops upright in a decorative foam block covered with school-colored tissue paper, or arrange them in a tall vase filled with decorative filler. Create an impressive dessert table centerpiece by arranging pops at varying heights using tiered stands. Package individual pops in clear bags as party favors or gifts for graduates. Pair with other graduation-themed treats like diploma cookies or cap-shaped cupcakes for a complete celebration spread. These pops also work wonderfully as place card holders—simply attach a small name tag to each stick. Store cake pops in an airtight container at room temperature for up to 3 days or refrigerate for up to 1 week, though they're best enjoyed within the first few days for optimal texture and freshness.
 Pin It
 These graduation cake pops represent more than just a dessert—they're an edible celebration of hard work, dedication, and achievement. Each sparkling, colorful pop carries the pride of accomplishment and the joy of reaching an important milestone. Whether you're celebrating high school graduation, college commencement, or any academic achievement, these festive treats add a personal, heartfelt touch that shows how much you care. The combination of school colors and golden accents creates a sophisticated yet fun presentation that honors the graduate while delighting everyone at the celebration. Enjoy creating these memorable treats and celebrating this special moment in style!
Recipe FAQs
- → How do I ensure the cake balls hold together properly?
Mix the crumbled cake with just enough frosting so the mixture holds its shape but stays firm, typically between half to three-quarters cup is ideal.
- → What’s the best way to get smooth candy coating?
Adding vegetable shortening or coconut oil to melted candy melts helps achieve a smoother, shinier coating for dipping.
- → Can I use different cake flavors for these pops?
Absolutely! Vanilla or chocolate cake mixes work well, and you can experiment with flavors to match your preferences or school colors.
- → How should I store the decorated pops to keep them fresh?
Store the pops in an airtight container at room temperature for up to three days or refrigerate for up to a week.
- → What is the purpose of dipping sticks in melted candy before inserting?
This step secures the stick inside the cake ball by helping the coating act as glue, preventing it from falling off.