 Pin It
 I still remember the day my niece graduated from high school. As I was setting up for her celebration party, I wanted to create something that felt special—something that would make everyone smile the moment they saw it. That's when I thought of turning a simple snack into tiny edible graduation caps. The look on the kids' faces when they realized these little square treats were actually meant to celebrate their accomplishment? That's when I knew I'd created something magical.
What I love most is watching people figure out what they're looking at. My coworkers were so charmed by these little caps at the office party that they started asking for the recipe. One colleague even said it made her feel like a kid again, playing with her food in the best way possible. That's when I realized this snack isn't just about what it tastes like—it's about the feeling it creates.
Ingredients
- Square crackers (Wheat Thins, water crackers, or similar): These form the foundation of your cap and need to be sturdy enough to hold the cheese without crumbling. I've learned that slightly thicker crackers work better than the super-thin ones—they give you something substantial to build on.
- Square slices of cheese (cheddar, Swiss, or American): The cheese is your graduation cap's body, so choose something with a bit of personality. Cheddar gives warmth, Swiss adds sophistication, and American cheese melts beautifully if any warmth touches it. Cut them to about 1.5 inches square so they align perfectly with your crackers.
- Black licorice strings or dried fruit strips (mango, apricot, or fruit leather): This is your tassel, and honestly, this is where you can have fun. Black licorice is classic and dramatic, but I've had the most delightful results with dried mango strips—they add a pop of color and a touch of natural sweetness. Cut them about 3 inches long so they drape elegantly.
- Cream cheese or hummus (for adhesive): A tiny dab is all you need—think of it as your edible glue. Cream cheese feels more luxurious, while hummus adds an earthy note and works for vegan versions.
- Candy pearls or raisins (optional, for the tassel button): These little touches transform your snack from simple to special. A tiny pearl or raisin at the base of the tassel mimics the real thing and adds just a whisper of extra flavor.
Tired of Takeout? 🥡
Get 10 meals you can make faster than delivery arrives. Seriously.
One email. No spam. Unsubscribe anytime.
Instructions
- Build Your Foundation:
- Start by placing each square cracker on your serving platter. I like to arrange them all at once so I can see my little assembly line forming. It feels like you're about to create something intentional and special.
- Crown Your Caps:
- Top each cracker with a slice of cheese, making sure the edges align as much as possible. This is where the magic starts—suddenly those humble crackers and cheese squares look like they're meant to be something more. The alignment matters because it creates that clean, cap-like silhouette.
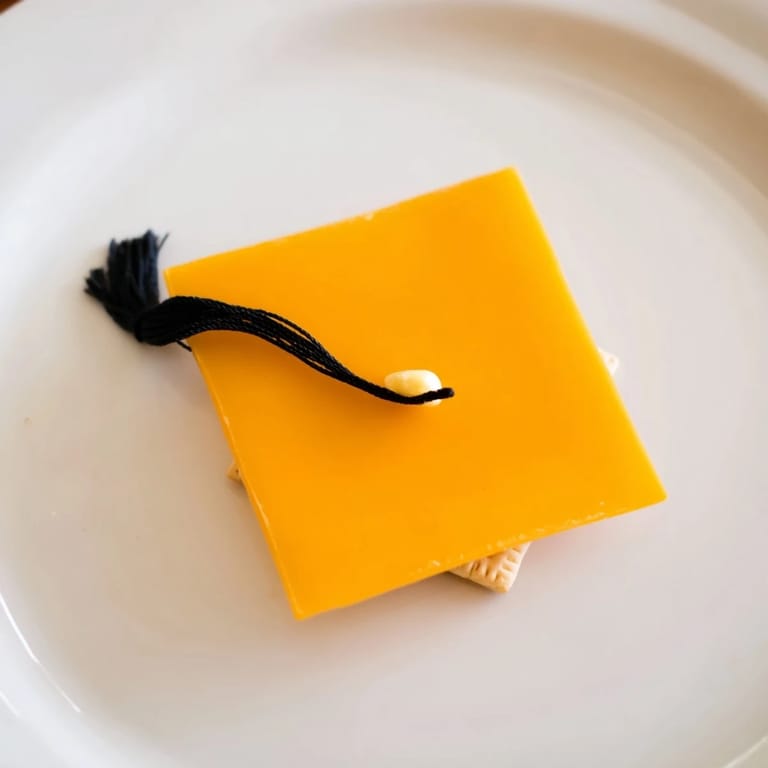
- Attach the Tassel:
- This is the moment where your snack becomes unmistakable. Take your licorice string or dried fruit strip and dab one end with a tiny bit of cream cheese or hummus—and I mean tiny. Press it gently to one corner of the cheese square and let it drape over the edge naturally. You want it to look like it's swaying with pride, not glued down too heavily.
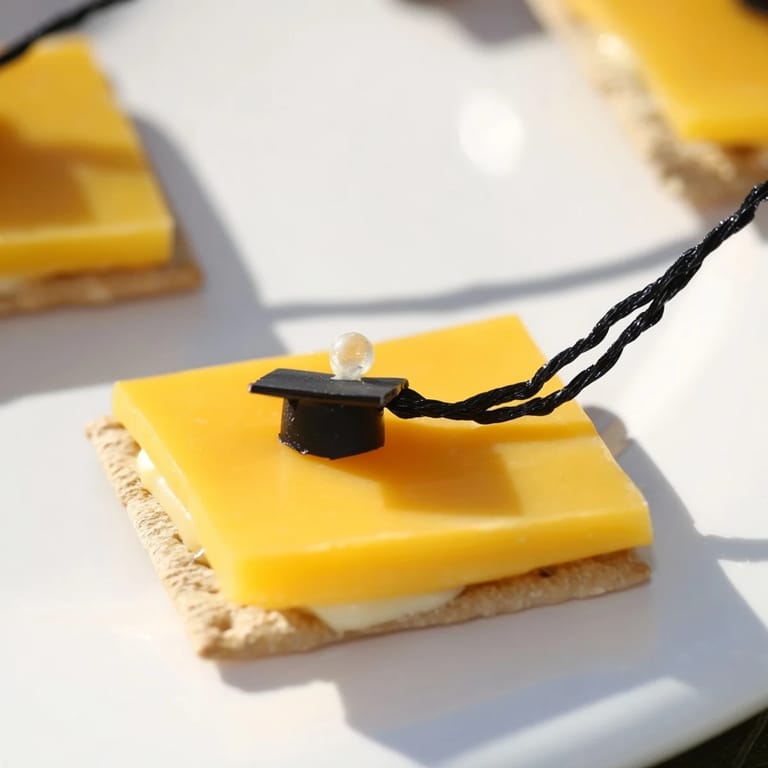
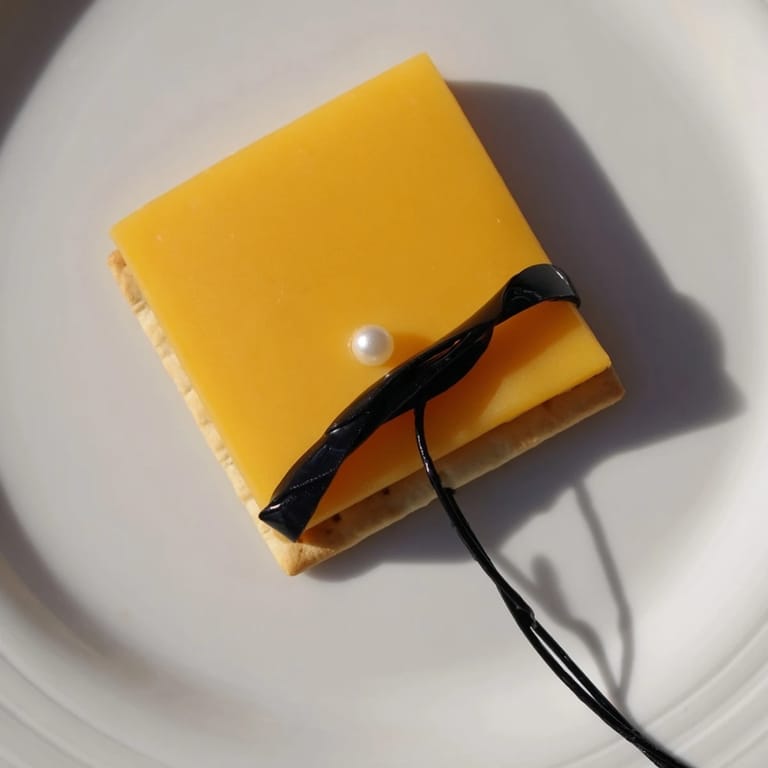
- Add the Button (Optional but Encouraged):
- If you're using candy pearls or raisins, place one at the base of the tassel where it meets the cap, securing it with a microscopic dab of cream cheese. This little detail is what makes people stop and really look at what you've made.
- Repeat and Celebrate:
- Continue with your remaining ingredients, working at a comfortable pace. There's no rush—this is as much about the process of creating as it is about the final presentation. Once they're all assembled, serve them immediately and watch the faces light up.
 Pin It
 I'll never forget when my eight-year-old nephew carefully picked up one of these little caps, examined it from every angle, and then declared it 'too pretty to eat.' He kept it on his plate for ten minutes, admiring it, before finally giving in to the temptation. That moment reminded me that food isn't just fuel—sometimes it's art, memory, and celebration all wrapped into one small, beautiful package.
Making It Personal
This recipe is wonderfully flexible, and I encourage you to make it your own. Different cheeses create different personalities—I've used sharp cheddar for a bold statement, creamy brie for elegance, and even smoked gouda for a surprise twist. Your choice of tassel tells a story too. Black licorice says 'classic,' while bright dried fruit says 'fun and modern.' The beauty of this snack is that it can match the tone of your celebration.
Serving and Storage
These are best served fresh and at room temperature—the crackers stay crisp, the cheese maintains its shape, and the whole presentation looks its absolute best. If you need to prepare them ahead, you can assemble everything except the tassels a few hours early and keep them covered in the refrigerator. Attach the tassels just before guests arrive. I've also found that these travel well in a shallow container if you're bringing them to someone else's celebration.
Why This Snack Works for Any Milestone
What started as a whimsical idea for a graduation party has become my go-to celebration snack. I've made it for promotions, new jobs, first apartments, anniversaries, and even just because a friend needed cheering up. The fact that it takes just 10 minutes means you can focus on what really matters—being present with the people you're celebrating. The snack becomes a conversation starter, a photo opportunity, and a small edible reminder that good things are worth celebrating.
- Keep your tassels consistent in length so they all look uniform—this creates a polished, intentional look rather than haphazard
- If you're making these for a large crowd, do a practice round with just three or four first so you get the feel of the adhesive amount and tassel placement
- Serve them on a nice platter or tiered stand so people can easily grab them and admire the details
 Pin It
 Every time I make these little graduation caps, I'm reminded that the best recipes aren't always about complicated techniques or rare ingredients—they're about creating moments that people remember. This snack does exactly that.
Recipe FAQs
- → What types of crackers work best for the base?
Square crackers like Wheat Thins or water crackers provide a sturdy and crisp base that holds the cheese well.
- → Can I use other types of cheese?
Yes, cheddar, Swiss, or American cheese slices are ideal for shape and flavor, but feel free to experiment based on preference.
- → How do I secure the tassel to the cap?
Use a small dot of cream cheese or hummus as adhesive to attach licorice or dried fruit strips to the cheese square.
- → Are there vegetarian options for the tassel?
Licorice and fruit strips such as mango or apricot leather make excellent vegetarian-friendly tassels.
- → Can this snack accommodate dietary restrictions?
Gluten-free crackers can be substituted for a gluten-friendly version, and choosing vegan spreads allows for dairy-free adaptations.