 Pin It
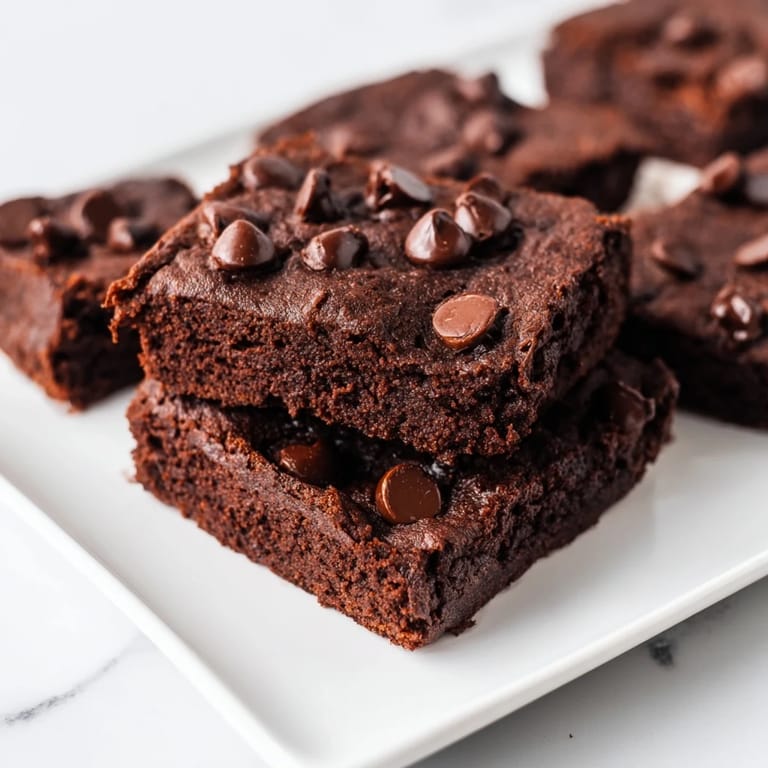
 I discovered Greek yogurt brownies by accident one afternoon when I was determined to satisfy a chocolate craving without the usual guilt that comes with a full-fat dessert. Standing in front of my pantry, I spotted a container of plain Greek yogurt that needed using, and something clicked—what if I used it as the base for brownies instead of oil alone? The result was richer than I expected, fudgier even, with a protein boost that made snacking on them feel almost responsible. Now they're my go-to when I want that deep chocolate flavor without feeling weighed down afterward.
Last month, I brought a batch to a potluck and watched people's faces when I casually mentioned they were made with Greek yogurt and applesauce—everyone expected a compromise, but one bite proved there was none. A friend actually asked if I'd accidentally grabbed a box mix instead of making them from scratch, which felt like the ultimate compliment. That's when I realized this recipe wasn't just lighter; it was genuinely delicious in its own right.
Ingredients
- Plain Greek yogurt (2% or 0% fat): This is your secret weapon, binding everything while adding creaminess and protein without heaviness—use full-fat only if you enjoy dense, overly moist brownies.
- Eggs: They give structure and richness; don't skip them or substitute carelessly, as they're essential to the texture.
- Unsweetened applesauce: It keeps things moist while replacing some fat, and its natural sweetness blends seamlessly with the chocolate.
- Melted coconut oil or unsalted butter: Coconut oil adds subtle depth, but butter works beautifully too—either way, melt it and let it cool slightly before mixing.
- Vanilla extract: A small amount that somehow makes the chocolate sing louder instead of blending into the background.
- Unsweetened cocoa powder: Sift it to avoid lumps that can ruin the silky texture you're aiming for.
- All-purpose flour: This is where you can experiment with gluten-free blends if needed without losing the brownie magic.
- Coconut sugar or brown sugar: Coconut sugar adds a subtle molasses note, but brown sugar works equally well and is often already in your pantry.
- Baking powder: Just enough to lift the batter slightly; too much and you'll lose that fudgy center.
- Dark chocolate chips: The good stuff matters here—I learned this the hard way after using cheap chocolate and wondering why something seemed off.
- Walnuts or pecans (optional): Add them if you want textural contrast, but honestly, the chocolate alone is satisfying enough.
Tired of Takeout? 🥡
Get 10 meals you can make faster than delivery arrives. Seriously.
One email. No spam. Unsubscribe anytime.
Instructions
- Heat your oven and prep the pan:
- Set the oven to 350°F (175°C) and line an 8x8-inch pan with parchment paper, letting it overhang slightly so pulling out cooled brownies is effortless. This small step saves frustration later.
- Combine the wet base:
- In a large bowl, whisk Greek yogurt, eggs, applesauce, melted coconut oil (or butter), and vanilla until completely smooth with no visible streaks. The batter should look unified and creamy, not separated.
- Sift and mix the dry team:
- In another bowl, sift cocoa powder, flour, sugar, baking powder, and salt together; sifting is the difference between silky brownies and ones that taste slightly gritty. Take your time here.
- Fold wet into dry:
- Add the dry mixture to the wet ingredients gradually, folding gently with a spatula until just combined—overmixing develops gluten and makes brownies tough. Stop as soon as you don't see any white flour streaks.
- Add the chocolate moment:
- Stir in chocolate chips and nuts gently, keeping the batter light and airy rather than compressed. This is the last chance to keep things tender.
- Into the pan and onto the oven:
- Pour the batter into the prepared pan, smooth the top with a spatula, and scatter extra chocolate chips across if you want them studded throughout. Pop it into the oven immediately so nothing deflates.
- Bake with patience:
- Bake for 22–25 minutes; the surface should look set but still have a slight jiggle in the very center when you gently shake the pan. A toothpick should come out with just a few moist crumbs clinging to it, not wet batter.
- Cool completely before cutting:
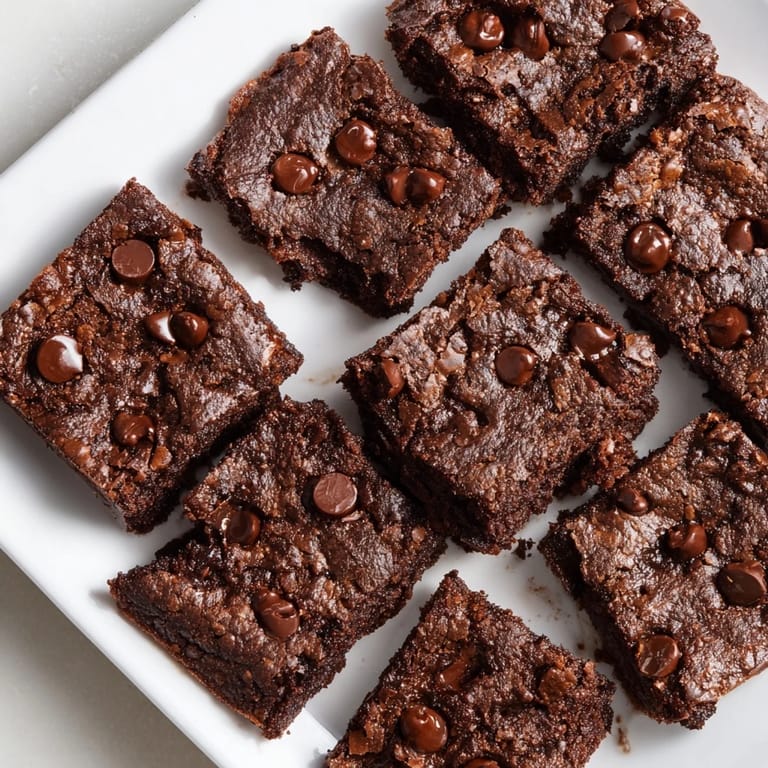
- Let the brownies rest in the pan for at least 30 minutes, then turn out onto a cooling rack or leave in the pan; this is when they firm up into fudgy squares instead of crumbly chunks. Patience here transforms them completely.
 Pin It
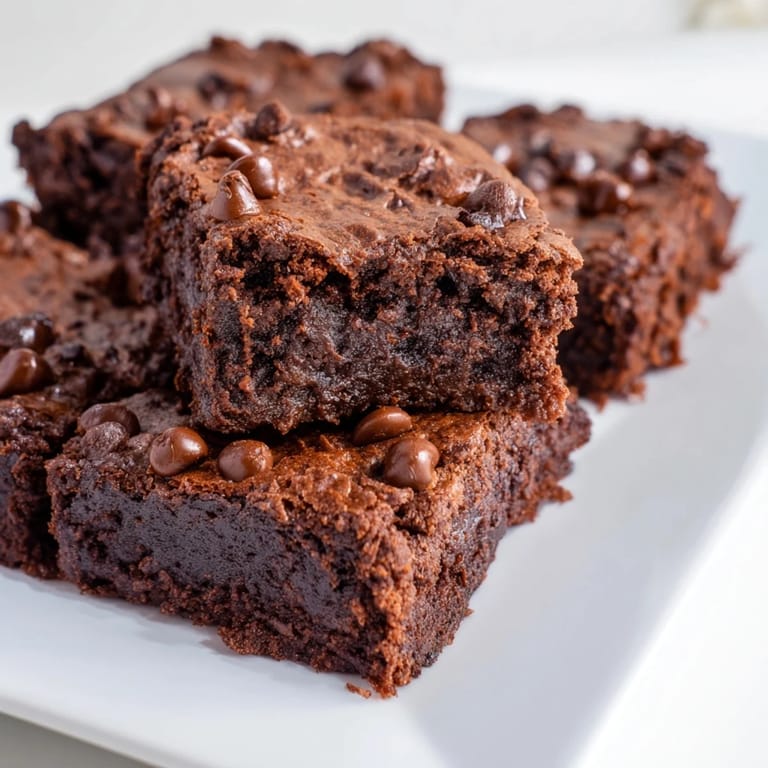
 There's something oddly comforting about knowing a dessert is actually feeding your body protein instead of just pleasure—like you're getting away with something good rather than settling. My roommate used to keep these hidden in the back of the fridge, and I'd find notes asking if I'd made more. That's when I knew they'd crossed from healthy experiment into genuine favorite territory.
Customizing Your Brownies
The base recipe is forgiving enough to adapt without losing its soul. If you want to boost protein, add one scoop of chocolate or vanilla protein powder and reduce the flour by 1/4 cup—the brownies stay moist and get a subtle protein flavor. For gluten-free versions, swap in a 1:1 gluten-free flour blend and watch closely in the oven since they sometimes bake slightly faster. I've even added espresso powder (a teaspoon) to deepen the chocolate notes, though that's purely optional if you want to experiment.
Storage and Keeping Them Fresh
Brownies improve slightly after a day as flavors meld together, so don't eat them straight from the cooling rack even though it's tempting. Store them in an airtight container at room temperature for up to four days, or freeze them in a freezer-safe container for up to two months; individual wrapping prevents freezer burn and lets you grab one brownie instead of committing to eating a whole batch.
Serving Ideas and Final Notes
A dollop of cold Greek yogurt or a handful of fresh berries transforms a brownie into something almost elegant, perfect if you're serving them to guests who might not immediately understand why they taste so good. These pair surprisingly well with coffee, tea, or even a glass of cold milk. Consider brownie sundaes, brownie crumbles over yogurt, or simply enjoying them as-is because sometimes the simplest version is the best one.
- Make sure the parchment paper overhang gives you handles to lift the entire block out for even cooling and easier cutting.
- Cut while still slightly warm if you like softer, more tender brownies, or wait until completely cool for cleaner, more defined edges.
- Double the batch and freeze half so you always have fudgy brownies ready when the craving strikes without the effort of mixing.
 Pin It
 These brownies taught me that healthy doesn't have to mean sacrifice, and that sometimes the best recipes come from working with what you have on hand rather than following a strict plan. I hope they become as much a part of your rotation as they've become of mine.
Recipe FAQs
- → Can I substitute Greek yogurt with another ingredient?
Plain Greek yogurt adds moisture and protein; alternatives like sour cream or dairy-free yogurt may alter texture and taste.
- → What type of chocolate works best in these brownies?
Use dark chocolate chips for a rich flavor, but semi-sweet or bittersweet varieties also complement the cocoa well.
- → How can I make these brownies nut-free?
Simply omit the chopped walnuts or pecans; the texture remains moist and fudgy without the nuts.
- → What is the purpose of applesauce in the batter?
Applesauce adds natural sweetness and moisture while reducing the need for added fats, creating a lighter texture.
- → How do I ensure the brownies bake evenly?
Line the pan with parchment paper and bake at 350°F, checking with a toothpick for moist crumbs to prevent overbaking.