 Pin It
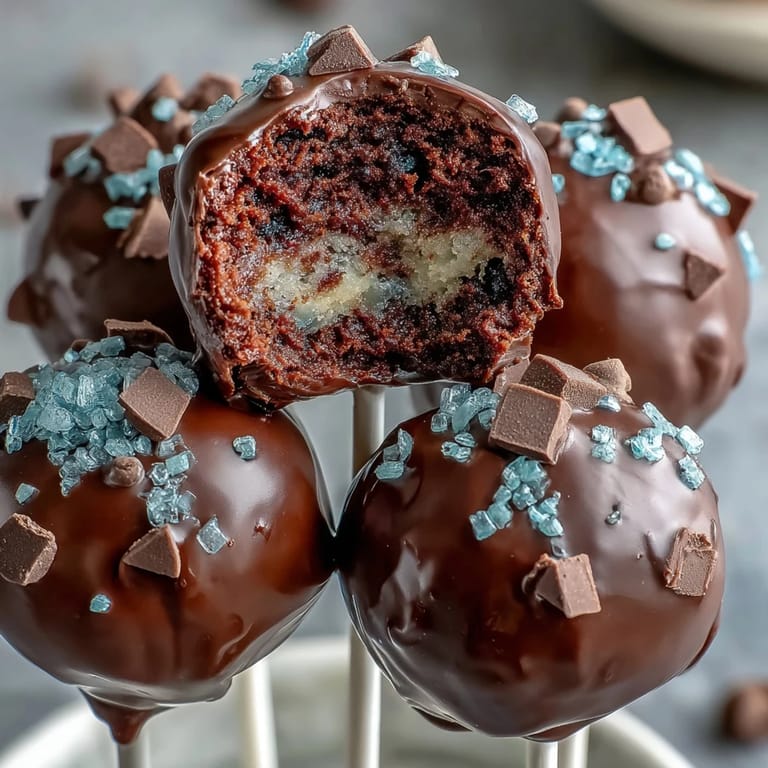
 The sound of laughter echoing down my hallway felt unusually bright the day I first made graduation cake pops. I was struggling to arrange candy melts in three mismatched bowls, spilling more than I intended, but the anticipation of unveiling these school-color pops gave the kitchen a playful energy. Making them felt less like baking and more like crafting—each step revealed new ways chocolate could misbehave and sprinkles could scatter. The air seemed sweet, with a hint of vanilla and melted sugar, and I realized these pops were a recipe for moments as much as for dessert. When I finally lined them upright, each was a tiny trophy.
When my cousin graduated last summer, the kitchen was alive with relatives fussing over details and stories swirling. As I dipped the cake pops and wrecked my shirt with edible glitter, my uncle snagged the first one off its stick and declared it officially “graduation-worthy”—there wasn’t a single pop left at the end of the party. The best part? Kids wanted to help decorate, and every pop turned out with its own personality. Never underestimate mini chocolate chips for the “tassel”—they always made someone smile.
Ingredients
- Cake: Starting with a classic box mix or homemade cake gives you flexibility; cooling it fully is crucial for perfect crumb texture.
- Cream cheese or buttercream frosting: Just enough holds the cake together—add slowly, and trust your hands to find the right stickiness.
- Candy melts in school colors: These give the pops their festive shell; microwaving in short bursts prevents burning and keeps colors vibrant.
- Vegetable shortening: If the chocolate feels too thick, a little shortening makes dipping more forgiving and smooth.
- Sprinkles, edible glitter, colored sugar: Decorating is half the fun; mix and match for maximum spirit.
- Lollipop sticks: Sturdy sticks make assembly simple and give your pops display power.
- Mini chocolate chips: Perfect for accenting “tassels” and adding finishing touches.
- Fondant in school colors: Optional, but wonderful for graduation caps—roll thin and cut squares for sharp edges.
Tired of Takeout? 🥡
Get 10 meals you can make faster than delivery arrives. Seriously.
One email. No spam. Unsubscribe anytime.
Instructions
- Bake and Cool the Cake:
- Prepare your cake according to instructions and let it cool completely so it crumbles easily and doesn’t turn gummy.
- Crumble and Mix:
- Break the cake into fine crumbs and add frosting gradually; watch as the mixture turns sticky but still pliable.
- Shape the Cake Pops:
- Roll tablespoon-sized scoops into balls, feeling for uniform texture and size—this is where hands get delightfully messy.
- Chill the Cake Balls:
- Cover and chill until firm, so dipping doesn’t cause them to fall apart; freezing works fast if you’re short on time.
- Melt and Prepare Candy Coating:
- Microwave candy melts in 30-second intervals, stirring and thinning as needed—aim for the ideal velvet consistency.
- Stick and Dip:
- Dip lollipop sticks into melted chocolate, insert into cake balls, then immerse each ball fully, tapping gently to remove excess.
- Decorate Fast:
- As soon as the coating is wet, sprinkle with glitter, colored sugar, or attach fondant caps and mini chocolate chips for graduation effect.
- Set and Serve:
- Stand the pops upright in a styrofoam block or cake pop stand, letting the coating harden completely before serving.
 Pin It
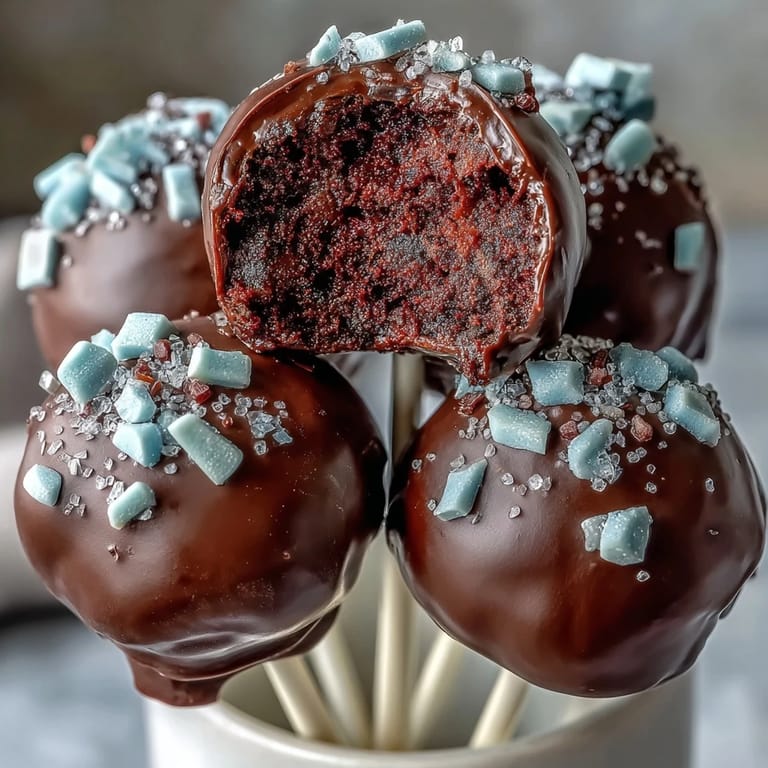
 One afternoon, as the sun angled through the windows and guests hovered nearby, I realized these cake pops had become more than just a treat—they were souvenirs. Everyone wanted to take one home as if it preserved a piece of the celebration, and every time I spotted a half-eaten pop left behind, it brought a smile. There was laughter at the occasional lopsided cap, but for just a few hours, dessert tied us together.
How to Achieve the School Colors
Achieving true school shades isn’t always simple when candy melt colors don’t match exactly. Mixing two shades together or adding a drop of food coloring takes patience, but swirling them creates a special marbled effect that always gets compliments. White chocolate works as a blank canvas if candy melts aren’t available—just be sure to use oil-based coloring, as most gel coloring seizes up chocolate.
Decorating Tips for Party Success
Setting up a decorating station with bowls of sprinkles and edible glitter immediately invited kids and adults to dive in. Keeping pops upright and spinning as the coating dries means every side gets attention and no corner is left bare. When it comes to fondant caps, cutting squares a little larger than the pop makes the hats look more official in photos.
Making Cake Pops Ahead for Events
If you need to prep a day or two ahead, chilling the undipped cake balls overnight keeps them firm and ready for last-minute assembling. Store fully finished cake pops in airtight containers; layering with wax paper prevents smudges. Prep is your friend—saving time means more moments for celebration.
- Don’t rush melting: patience keeps the coating glossy.
- Freeze pops briefly if you’re behind schedule.
- Pack in single layers for transport.
 Pin It
 Making these cake pops may leave your kitchen sparkling with sugar dust, but the smiles are worth every sprinkle. Celebrate big and don’t sweat the imperfect ones—they always taste just as sweet.
Recipe FAQs
- → How can I match cake pop colors to my school?
Use colored candy melts or tint white chocolate with gel food coloring to match your school’s colors. Pair with sprinkles or fondant in coordinating shades.
- → Can I make cake pops ahead of time?
Yes, prepare and decorate cake pops up to a week in advance. Store in an airtight container at room temperature or refrigerate.
- → What kind of cake works best?
Both chocolate and vanilla cake are popular choices. You can use box mix or homemade cake for equally moist and flavorful results.
- → How do I get a smooth chocolate coating?
Melt candy melts slowly, stirring often. Add a small amount of vegetable shortening if needed for a smoother, thinner texture.
- → How can I decorate pops as graduation caps?
Attach a fondant square to the top of each pop and add a mini chocolate chip as the tassel with a dab of melted chocolate.
- → Is a stand necessary for setting cake pops?
Using a styrofoam block or cake pop stand keeps pops upright while their coatings harden, ensuring an even finish on each treat.